Considering all the knife reviews published on this blog, it’ll be no surprise to anyone that I get asked a lot of questions about knife sharpening. Whilst I have reviewed a couple of systems in the past (the Hapstone Pro & Smith’s PP1 sharpeners) I admittedly always go back to simple Japanese Water Stones for sharpening.
Let me pre-emptively point out that I genuinely enjoy sharpening my knives, and consequently, this does make me a touch biased. I have owned a large 2×72 belt grinder and loaded with 3M Trizact belts and would argue that, honestly, if you’re looking for the most optimal sharpening platform taking into account the balance of speed versus result, belt grinders are the way to go. If you’re looking for affordable solutions to sharpening, however, and/or if you have the patience to take a lot of time with your knives, I do recommend using Japanese Waterstones (otherwise known as Whetstones) over any other method.
[amazon_textlink asin=’B001DT1X9O’ text=’B001DT1X9O’ template=’ProductAdRight’ store=’mtjs-20′ marketplace=’US’ link_id=’2c707def-2f23-11e7-9d20-b1e327cf3b0e’]
With that out of the way, today I’ll be showing you how to use a Whetstone to get a nice edge on your knife. I will be using just one simple Japanese Waterstone to sharpen my go to Santoku kitchen knife. You can use pretty much any stone as the technique doesn’t change, but be aware that some stones like Arkansas stones require oil instead of water, and DMT stones do not require any lubricant.
If you’re looking for water stone recommendations, I’ll make up a whole post about that soon. If you’re interested in knowing right off the bat, these are the ones I use myself.
 King 1000/6000 Japanese Whetstones Sharpening Stones – Amazon
Cheap Set of Sharpening Stones – Amazon
A lot of people go through an insane amount of stones when sharpening knives, I am talking about changing stones every 200 grit. This to me is excessive.
[amazon_textlink asin=’B003ELH7AI’ text=’B003ELH7AI’ template=’ProductAdRight’ store=’mtjs-20′ marketplace=’US’ link_id=’e39f97d7-2f22-11e7-bf79-9fc00032da88′]
Sharpening, like many things in life, can be taken to extreme lengths. If you absolutely want a mirror edge, then you will want to use progressive grits and possibly micromesh on a flat surface. I personally don’t care that much about the aesthetic presentation of my edge as long as it performs optimally. I use a 1000/6000 grit “King” brand waterstone and it’s enough to get my knives to shaving sharp with a minimal amount of work.
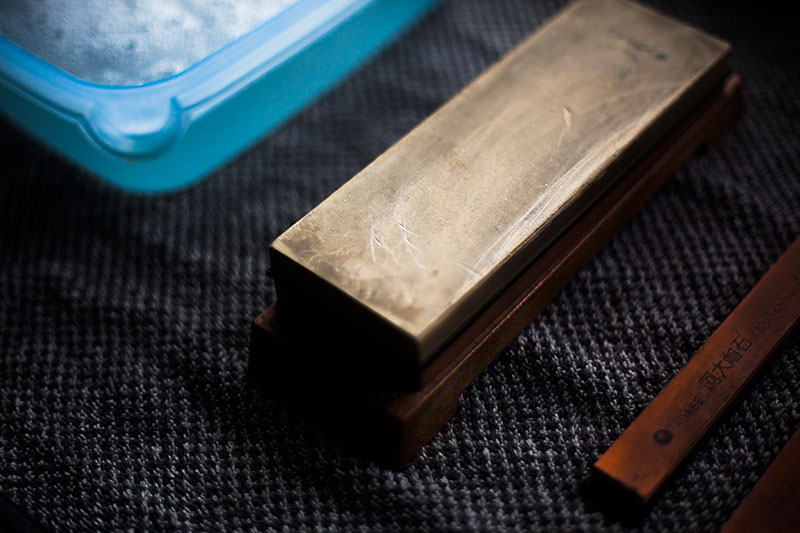
Before getting started with the actual sharpening, it’s important that you prep your stone(s). My own has been used for many years and featured quite a few deep scratches as well as one significant gouge near the center, so I decided to plane down my water stone first. In stereotypical MTJS fashion, I am all about shortcuts for the sake of brevity, and thus my technique is definitely not textbook; in fact, it’s considered by many devouts to be blasphemous – fair warning given.
[amazon_textlink asin=’B00PVXQ81G’ text=’B00PVXQ81G’ template=’ProductAdRight’ store=’mtjs-20′ marketplace=’US’ link_id=’46884aa2-2f22-11e7-a59d-ebf66fcf3842′]
The way in which one cleans up a stone is by simply grinding the damaged layer to reveal a new, clean surface.
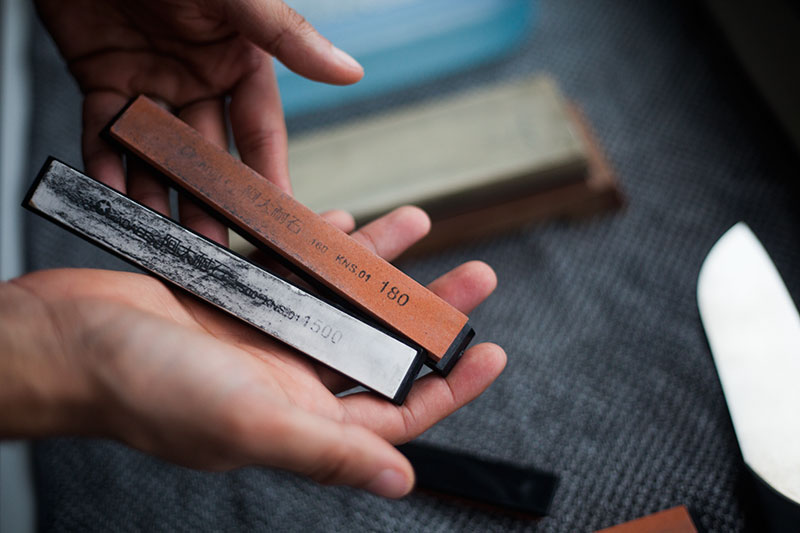
Traditionally, people use full sized stones and match them so they are flat against each other. They slowly but surely grind them down level. The issue for me is that this takes time, it limits your field of view and is significantly more expensive than spending a few bucks on some cheap “sharpening system” stones. Which is what I use. As long as it’s abrasive (and they all are) and flat (in my experience, that’s never been an issue), then it will work out just fine.
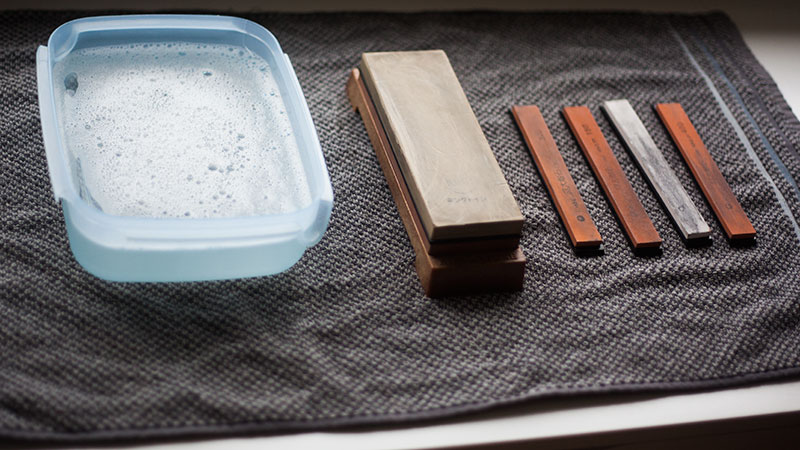
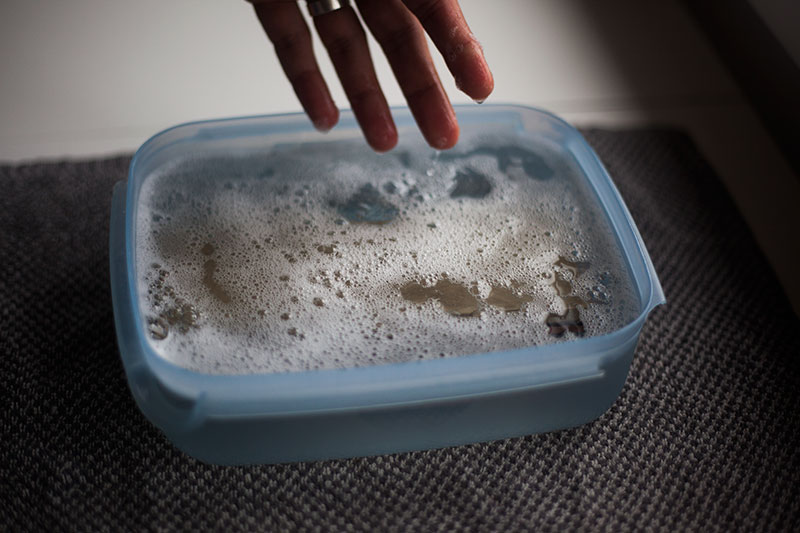
First step: soak all the water stones in soapy water. Why soapy water and not just plain ol’ water? Soapy water lubricates the stones more in my opinion. The term “makes water more watery” is often used to describe why it’s good to use soapy water to soak Whetstones in, but obviously that’s not a scientific way of putting it, just for you to get a good visual for why soapy water’s used instead.
You want the sharpening stones to all be fully saturated, so don’t worry about leaving them in for too long – there’s no such thing considering it’s not as though they’re going to be damaged. They’re called water stones for a reason!
Once the Whetstones are loaded with soapy water, I simply grind the stone down with the cheaper, smaller stone in quick motions with reasonable pressure. I don’t bare down on them, but of course, consistent force will speed up the process considerably. The advantage of using smaller stones to do this is that it allows you to visually see your progress as you are cleaning up your sharpening stone.
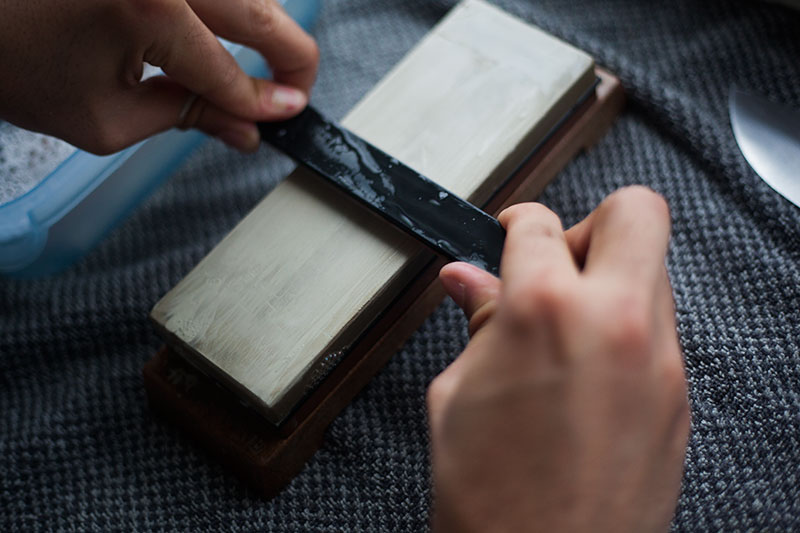
It probably took me around 3 minutes to clean up my stone sufficiently – but that deep gouge I mentioned earlier stubbornly refused to go away. Much like Lena Dunham.
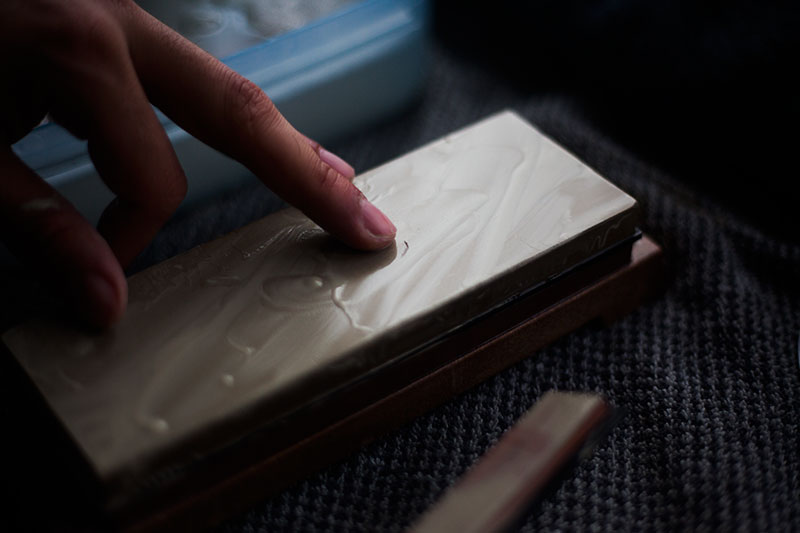
Solution is what you would expect. Just keep going it until your stone is free from any irregularities, and remember to keep the pressure even and over the entirety of the stone – otherwise you will create an uneven surface.
Time + patience are all that’s necessary. It’s not complicated, but it’s important to get done.
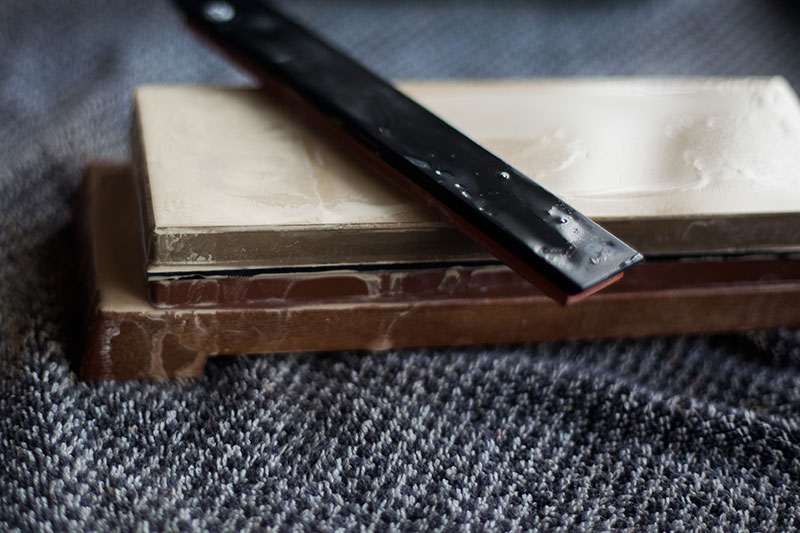
Something to note: sharpening can be a smidgen messy as you can see above, so please protect your working surface with a towel lest your spouse spends the rest of the day glaring at you (or so I am told). The slurry is loaded with abrasives and steel micro-particles, so it’s not exactly good for your dining room table.
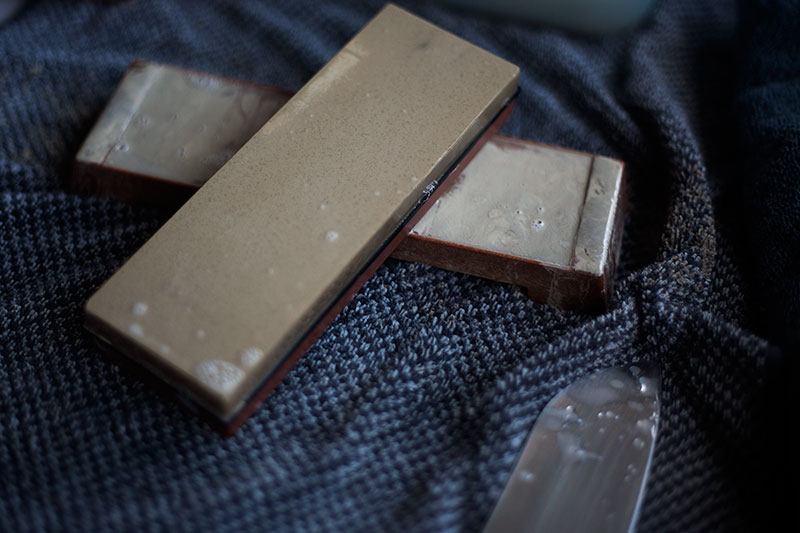
Now that your stone is ready for use, the technique is super simple and with the right mindset can be very relaxing.
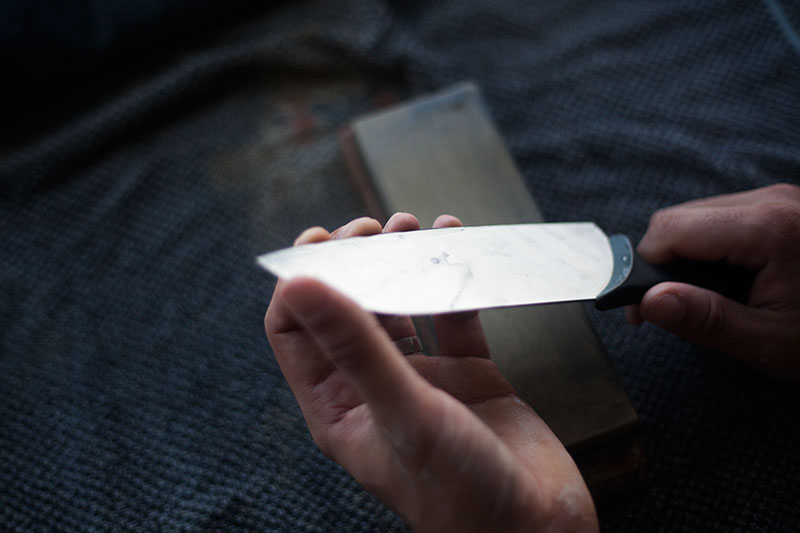
Simply grab your knife by the handle with 1 thumb on the blade and with your other hand apply pressure to the tip. The key is control and a consistent angle.
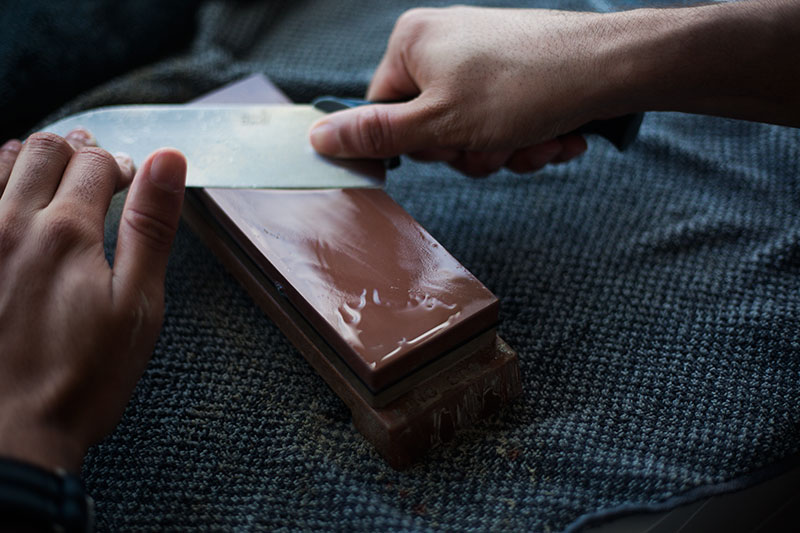
Take your time. Do the same number of sweeps leading away from the edge until you are happy with how clean the new bevel looks/feels. Don’t try to rush, especially at first when you’re getting used to the motion.
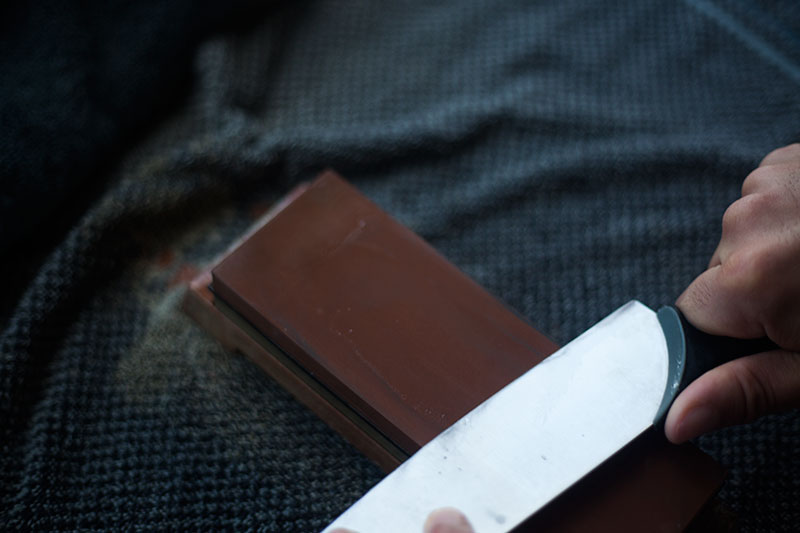
I get asked often how you can check/gauge when your edge is ready to move onto a higher grit, and the key is developing a nice burr.
It feels like a very fine, rough wire on the edge that will catch your fingertips as you drag them against the edge. Be super careful when doing this as getting cut is not part of this guide.
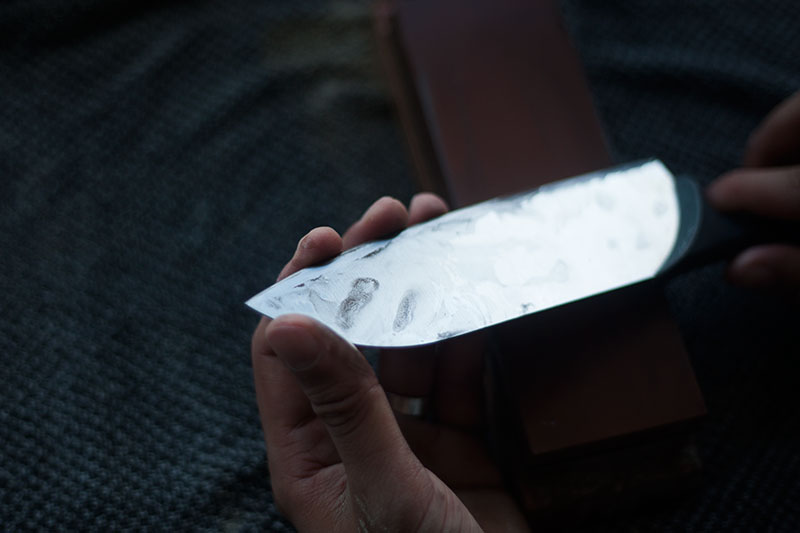
Once you have a decent burr built up, switch to the higher grit (in my case, 6000) and do the exact same thing.
Always go with the edge leading away from your movement as you don’t want it to catch and leave a nasty gouge on your stone. I know a lot of other people have different techniques (some do circular motions, others go back and forth, etc.) but this is just the way I do it – everyone will have an opinion, and at the end of the day, if it works for you and you are happy with the results then don’t worry about it.
This is just the way I do it as I consider it the most consistent in terms of results. Let me know if you agree or prefer using another way in the comments.
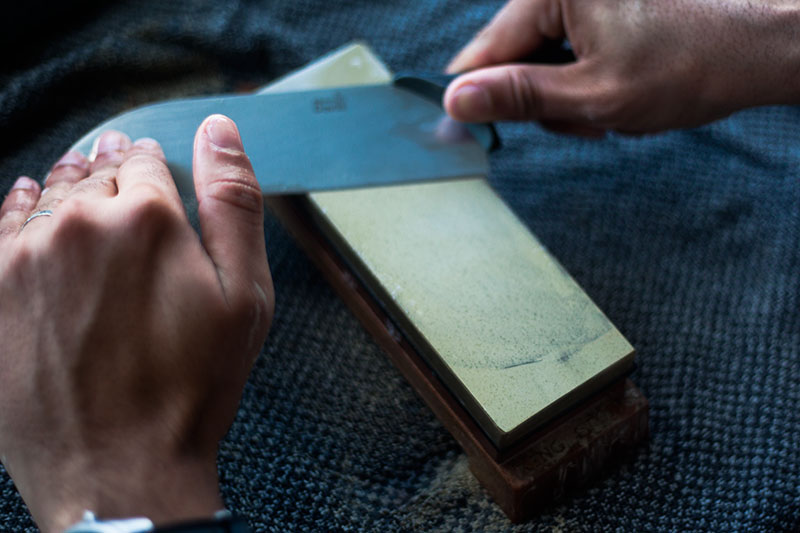
Check your edge often. If your edge is damaged (chips or deformation), then you will need to do more passes. I personally average out at 15-20 passes each side on both grits, and I find the end result to be optimal, but with that said, sharpening is essentially grinding away metal to reveal a new edge that is hopefully more acute. If you use heavier pressure it will go faster/require less passes and the opposite is true if you have a feather touch. Similar consequences with softer steel versus harder steel: naturally, the harder steel will require more work as the abrasives won’t be as effective.
Once I am happy with my edge, I always use a strop.
Now, this is always controversial because some often argue against strops – saying that stropping doesn’t do much if anything for your edge, but in my experience there’s a significant improvement after stropping. I like the fact that stropping catches and removes the burr and polishes the edge to a cleaner result. All my knives are shaving sharp after 10 minutes of work and that’s good enough for me.
As a side note, I free hand my stropping because I am used to it. I don’t bother laying it flat on a table, but that’s just me and years of habit talking. The technique, however, is the same as sharpening – even pressure leading away from the edge.
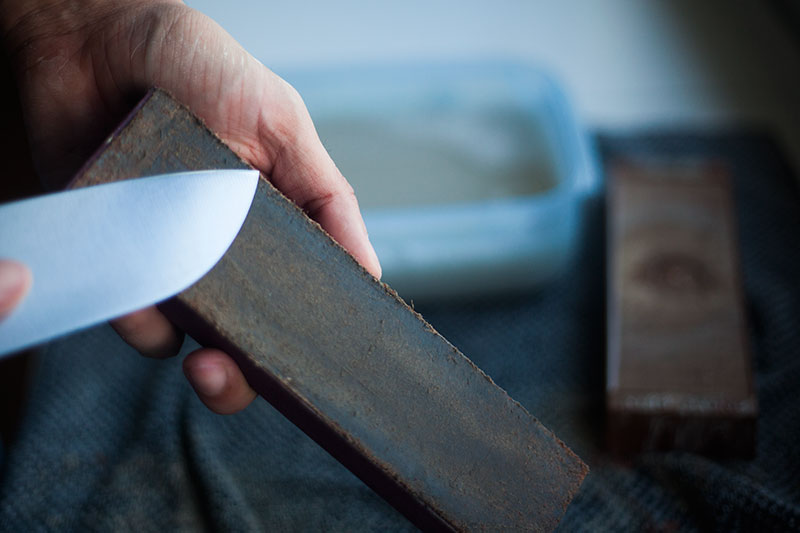 Flexcut Knife Strop – Amazon
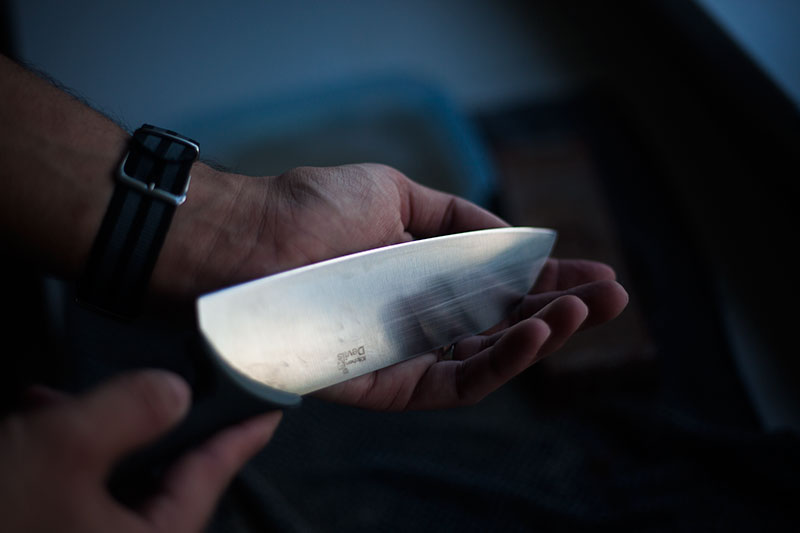
The end result is a shaving sharp Santoku ready for work.
In case people are wondering, as I will no doubt get questions about this, the knife in question is a Kitchen Devil (the Santoku version of this) with a crazy ergo handle. It’s a decent lil knife. The steel isn’t optimal, but with stropping regularly, I don’t care very much about edge retention, and as I said, I actually enjoy sharpening my knives. For the price, it’s acceptable, although the reigning king in that arena will always be the Victorinox Fibrox series – very nice grinds for the dollar.
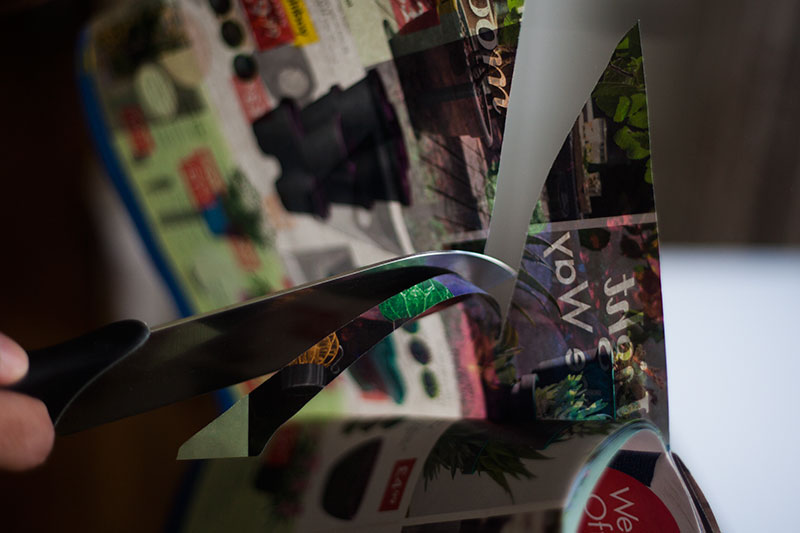
When testing, I like to use the cheapest paper possible. Any knife can cut heavier paper, but the free crap you get through the door is often resilient to clean cuts due to the way it is manufactured/processed. The ultimate test of a knife is if it can cut toilet paper – that stuff is so abrasive and roughly milled that edges don’t want to cut it. It is doable to get your edge to that level of sharpness, but frankly, my issue with that is real world performance doesn’t match the time it takes to get an edge to that level.
A crazy edge will be crazy for a single session and little more. You can even sharpen your knife with enough time and with the right stones (high grit, high precision) to whittle hair, but cut one piece of paper and that hair whittling edge is gone. That’s the reality, so my personal preference is to always have a sharp knife which to me is any edge that can shave. I don’t bother going beyond that, although in the past I used to (but that’s just because I liked to show off/get super mirror polishes on my edges).
So here we have it folks. At the end of the day, sharpening a knife with a stone is a pretty simple process. Always remember that constant pressure and taking your time will give you the best result, and naturally, get a decent stone to sharpen with.
[amazon_textlink asin=’B001DT1X9O’ text=’B001DT1X9O’ template=’ProductAdRight’ store=’mtjs-20′ marketplace=’US’ link_id=’2c707def-2f23-11e7-9d20-b1e327cf3b0e’]
Although, again, I’ll have a separate posts for stone recommendations, I will say now that in my opinion, the King brand offers the best bang for buck for a legit Japanese-made water stone (which is why I’ve got one). I would personally avoid the rougher, cheaper China made Zirconia stones as they are useful for little more than reshaping (far too abrasive/rough for a kitchen knife in my opinion). But at the end of the day, it’s your call what you choose to use.
A lot of people are scared to sharpen their own pocket knives, and I’ve always found this to be a damn shame. We knife-lovers spend so much money on our knives, we should give them the edge they deserve. It’s not hard to do, and if you screw up (uneven grinds for example), it’s no biggie to just keep trying. Just go slow.
You can of course always start by practicing on cheaper pocket knives, and leave that expensive Benchmade til you get better, but it’s worth the effort. Honestly. You can get very good at this with only a little practice under your belt.
Hope that you found this guide helpful, and of course, let me know if you have any other questions about sharpening with stones!
What is the advantage of a Japanese Waterstones over an Arkansas stone. I have an Arkansas stone which gives a lovely edge despite being worn very hollow. It’s quite a weird technique to get a decent edge on such a worn stone, but a new one isn’t cheap and this one has been passed down three generations!
Honestly mate, if you like your Arkansas stone then stick with it. Japanese waterstones have a reputation for extreme consistency (in terms of grit and distribution of abrasives) which make them the gold standard for manual sharpening set ups.
At the end of the day, if it works, it works.
Great article, and awesome helpful photos. Can you use any type of soap, or even toothpaste? I imagine soap with pumice would not work well. In a real pinch, will fats such as bacon fat or fish fat work in place of soap?
Yah, I try to, ‘box outside the think’, then file the info away for that once in a million years moment I hope never happens. You might say, ‘over thinking things’, but hey, work was a drag for a while.
Are there alternatives to the goop used on the stropes, my hardware stores don’t carry it. What do you use? What do you clean yours with and how often? I have yet to look deeply into using a strope, from what I have read, it seems interesting. I have two old ones, about 24 inches long, I wonder if they are still usable, how can you tell? Are all stropes the same as far as goop to use, how to clean, and how to determine if it’s too old or too used up?
For what it’s worth, the one strope I have, which has a very thick leather about 1/4 of an inch, says, ‘Jungle Brand’, ‘Prices $10.00’. It’s attached to a separate thin canvas-looking type of material which is folded over and sown together, it says, ‘Keen-Edge’, ‘Sunflower Brand’, ‘Broke In’.
The other strope, with a much thinner leather, says, ‘Genuine Imported Clydesdale Shell’. It’s attached to the same kind of canvas-looking type material, but it’s not folded over. At the top is an outline of a hand, and I can’t make out the words except, ‘KARA’. On the bottom it says, ‘A 6-Month Old Finish’ along with some other words I can’t make out except for the number 32.
Before I got a tiny Smiths, I thought about cutting them up and stuffing them in a B.O.B., once I learned more about them. I’ve read that some people use a strope after using a knife, and don’t use a stone or such, I wonder, what’s your take on that?
Anyway, the fancy new strope you’ve got looks worthwhile to have and to use.
I got some good results sharpening with wet-sandpaper, I just need to find something better to set the paper on while sharpening in order to get the paper to last longer. I was thinking a clipboard might work, but the idea dropped to the bottom of my list of things to do. [Winter wasn’t cold enough, or long.] However; it’s still, on the list. I’ll have to add to the list, get one of those Whetstones, and perhaps one of those stropes.
I like the idea of, not being dependent upon electrical tools – and – low maintenance costs, but those grinders you mentioned look real tempting.
Lastly, do you oil your knives after you’re done sharpening them? If so, what do you use? I have a fish fillet knife I keep in a leather sheath during the warm seasons, I’ve read that the grease they use in scuba dive shops is good for that, do you know of any other type of grease or oil which would be good around food while still protecting the knife blade?
Hi Helot, thanks for dropping by and asking these questions- i’ll try to answer all of them.
1) You don’t need soapy water to be honest, its just something I have always done and now its a habit. Just plain water is a-ok.
2) The goop on the strops are a thick compound abrasive, your toothpaste example might be viable (it is after all, a very fine abrasive) but I would just get the proper stuff from amazon- one bar will last eons. http://amzn.to/2pyPeCD
3) Unless severely damaged (gouged and torn to shreds) a strop should last pretty much forever. It might be dry and need a bit of work- I personally just use some sandpaper (220 grit seems to be the standard) and clean up the top layer that way, you will want to dislodge the metal gunk that accumulates over the years.
4) A strop for me is to maintain an edge, sharpening stones are to apply an edge. If the edge is clean (i.e isn’t nicked or chipped) I sporadically strop it until I *need* to sharpen it. This is just my way of doing things and it works for me- I have to emphasize that this is a personal bias as many people don’t bother stropping and view it as a waste of time and frankly I can’t justify my opinion using a scientific foundation- hence my disclaimers that this is simply the way I do things.
5) Aye, I do like the flexcut strops- durable and decently made. I have a few back in Canada that I made using deer hide pulled over a 4×4 block of wood and that was a great strop too.
6) if you are going to sharpen with wet sandpaper, what I have done in the past is simply go to your local home depot and ask for a sample “kitchen tile”- those super flat granit/marble ones. You can cut it down to size easy (if you need/want to) and clean up the edge using 80grit sandpaper. Works a treat.
7) I never oil my knives, then again I don’t live in a humid enviroment. Your enviroment will dictate your maintenance regimen more than anything else. In the past when I attempted to be a fish (didn’t end well, hence no fishing guides on my blog) I used food grade mineral oil on my filleting knives. Cheap, works well and non-toxic.
Hope that answers all your questions, thanks again for dropping by!
Yes, you did. Thanks.
Nice refresher course on sharpening knives. Reinforced what I knew, reminded of what I forgot and taught me some new things. Thanks for posting.
Thanks for the support Brother Daryl, glad it was useful!
Excellent stuff, like always! Personally i like to use a black marker on the edge. At least on new knives, that i haven`t got the “feel” for yet. Factory edges can be so-so, even on very expencive stuff! When i`m done sharpening V-grinds, i also have the habit of “knocking down” the shoulder at a lower angle a few passes, before i strop the blade. I feel this aids in cutting ability on blades that are thick behind the edge and eases sharpening over time.
Aye, I heard that a lot of people using markers on the edge but to be honest at this point for me sharpening is almost like a natural movement. I have done it so many times that I don’t really overthink it. With that said, I always put my own edge (both primary and secondary grind) on all knives I get as I tend to like a leaner edge which factories seldom do “out of the box”. Knocking the shoulder down is a great technique to reduce resistance and micro wedging and yes- definitely helps with ease of sharpening later on.
Thomas, I have one of those Norton two-sided abrasive stones from the hardware store. It is the kind that use oil to lubricate the stone. I think it is a 300 / 600 grit stone. Is this too coarse for kitchen knives and pocket knives?
Honestly, you can sharpen a knife with a Brick if its even enough so the coarseness isn’t the issue. The resulting edge from a 300/600 grit stone will be toothy compared to the edge from a high grit waterstone but thats not necessarily a bad thing. In fact, for some materials a toothy edge will make cutting easier. If your system works mate, I wouldn’t worry about it. I like my edges razor sharp so I always go higher in terms of grit but thats me.
Excellent stuff, Thomas. I’ve got a Sharpmaker, but I always end up going back to the Naniwa stones. Out of curiosity, do you consciously work for or against a convex edge? I find that it tends to happen naturally with my motions, but I know everyone’s got their own technique. (Oh, and that Lena Dunham comment: shots fired).
I like to add a micro-convex edge just for the extra edge stability it offers but I find with a touch more slack in your motions, this occurs naturally. As long as both sides are even and the edge is acute with no weak points then I am happy. Thanks for dropping by Alec, I appreciate it.